
The DGIS WorldShip Integration tool application is an optional step for DGIS customers who wish to continually process shipments in UPS WorldShip while using DGIS.
- This tool is not a requirement for you to use.
- This tool is recommend for users who need to process several UPS shipments and do not want to have to close WorldShip when at DGIS's Integration screen.
Integration Tool Installation Steps
1. Download the application here (you can also find the link at the bottom of this article).
2. Double-click the MSI file (or select Run) to begin installation. When the installation begins, you should see the following window*:
* You may first see a warning window saying that the publisher can’t be verified. Click Run anyway.
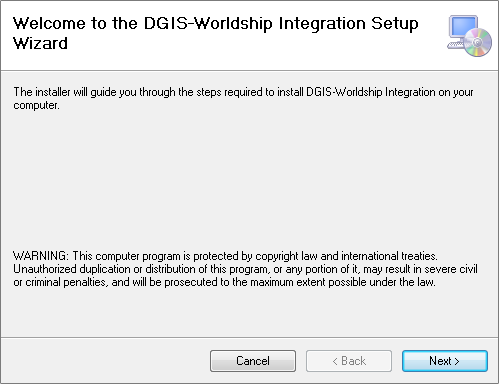
3. Follow the instructions on the screen by clicking “Next”.
4. Select the location to install the application. By default, the application will install in the Program Files folder on your C: drive:
32bit systems - C:\Program Files\LabelMaster\DGIS-WorldShip Integration\
64bit systems - C:\Program Files (x86)\LabelMaster\DGIS-WorldShip Integration\
The installation should just take a minute.
5. After installation is complete, click “Close”.
6. The DGIS-WorldShip Integration application icon will be located on your Desktop (via a shortcut), as well as included in “All Programs” in your Windows Start menu.
a) Shortcut icon in your desktop:
![]()
OR
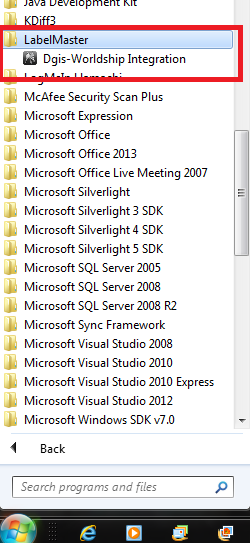
b) Click the Start menu (or Windows icon) on the bottom left of your desktop, then select “All Programs”. A shortcut icon for DGIS-WorldShip Integration appears in the LabelMaster folder:
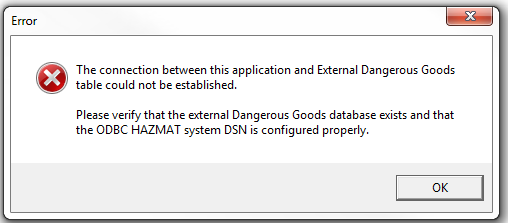
If you receive the following error when launching the DGIS WorldShip Integration tool, you'll need to install Microsoft's Office System Driver Data connectivity components.
Error message at start up.
Microsoft Office System Driver Data Connectivity Components installation steps:
1. Click here to download the executable.
2. Run the installer.
Note: A computer restart is required after installation.
Setting up the database connection
1. Check your C:\ drive for a "UPSExport" folder which contains the initial export file "ExportWS.mdb".
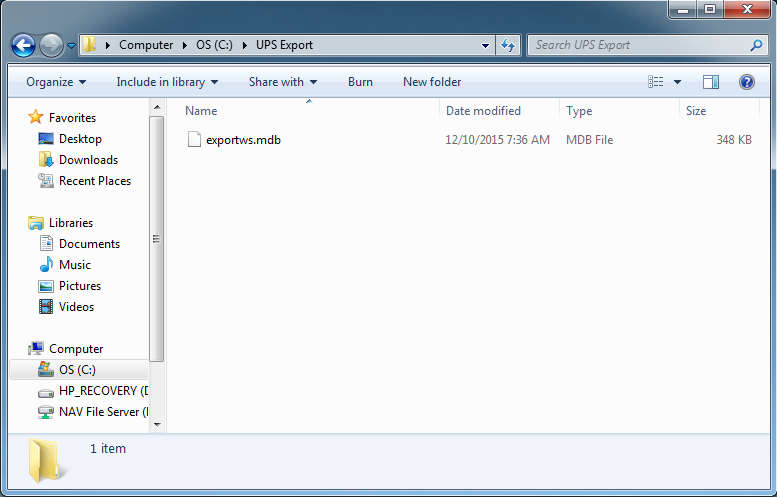
If you are missing either, you will need to create the folder and then run through and export a shipment in order to create the necessary file. See the article: Creating a UPS Export Folder and Saving the Export File.
2. Run the new application by clicking on either of the DGIS-WorldShip Integration shortcuts.
3. When you run the application for the first time, you should see the following error if the “HAZMAT” DSN has not been configured on your machine.
4. You will need to add a DSN with the name “HAZMAT” and point it to the WorldShip Dangerous Goods database on your system.
a) Find and open the ODBC Data Source Administrator by going to, and double-clicking one of the following files:
C:\Windows\SysWOW64\odbcad32.exe (64-bit systems)
OR C:\Windows\System32\odbcad32.exe (32-bit systems)
*For 32-bit systems only, you can also open the ODBC Data Source Administrator by going to Start > Control Panel, and searching for “ODBC”.
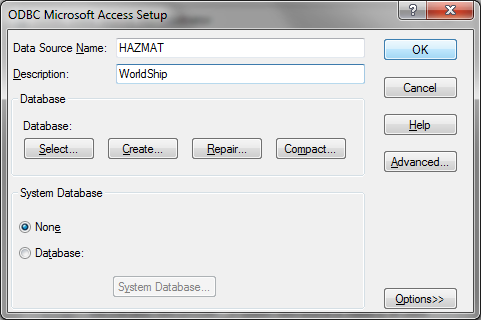
b) On the ODBC Data Source Administrator pop-up window, select the System DSN tab, then click “Add”.
c) Select “Microsoft Access Driver (*.mdb)” then click “Finish”.
d) For the Data Source Name, type in “HAZMAT”.
e) For the Description, type in “WorldShip”.
f) Click Select, and point to the file C:\UPSExport\exportws.mdb by double clicking the C: drive, the UPSExport folder, then select the exportws.mdb file.
g) Click a series of OK buttons, and you are done.
5. After configuring the “HAZMAT” DSN on your system, the DGIS-WorldShip Integration application is ready to use with DGIS.
Using the DGIS-Worldship Integration application with DGIS
The DGIS-WorldShip Integration tool allows you to continually process shipments in DGIS and WorldShip, with both applications open at the same time.
The integration tool makes it easier to transfer DGIS shipments to the database on your computer, which is then read by WorldShip.
When you are ready to start processing shipments in WorldShip, open the Integration application (from your Desktop link, or Start menu). You can leave this program open while using DGIS or WorldShip.
* You may be prompted to install an updated version of Microsoft .NET. If so, at the end of this article are instructions on downloading and installing it from Microsoft’s website.
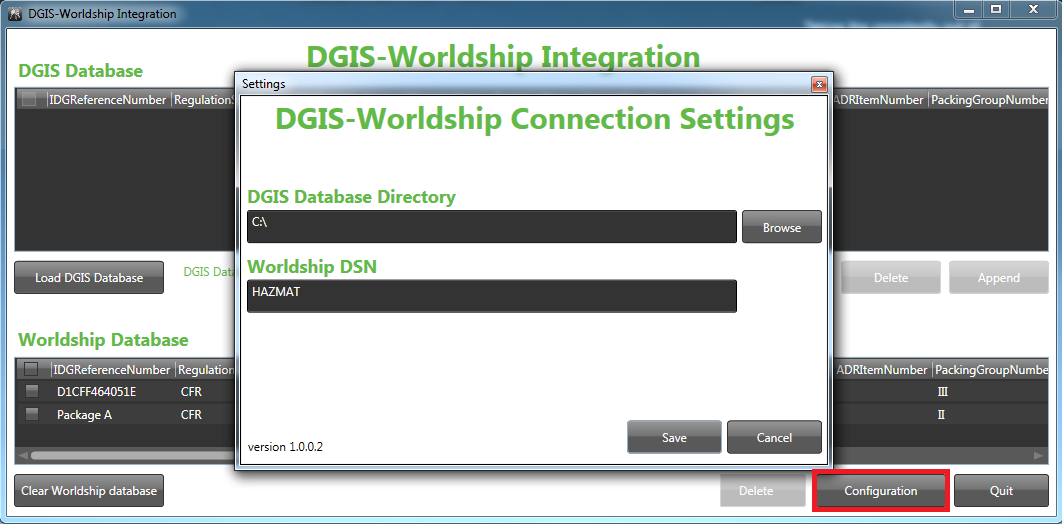
Configuring the Integration Tool
1. Click the Configuration button shown on the following screen.
a) If you have already been using DGIS with WorldShip, it will have already defaulted to the correct configuration.
b) If not, use the Browse button to configure the program with the “HAZMAT” DSN that you created in the previous step. Click “Save” to close the window.
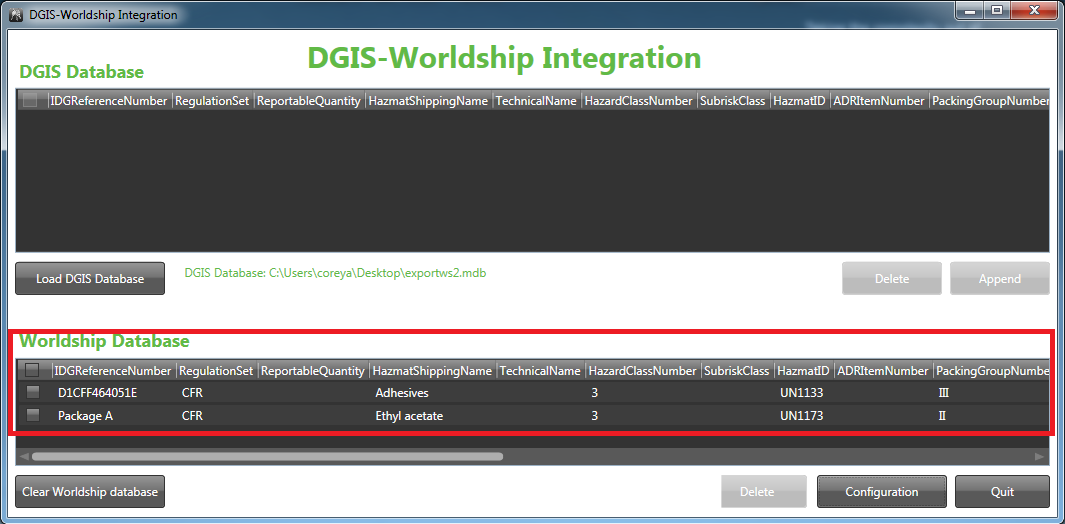
2. The bottom half of the Integration Application screen will display any shipments that are currently in the WorldShip database. It is recommended that you click “Clear WorldShip database” at the beginning of your shipping day so that you will not see shipments that may have been processed previously. This step is entirely up to the user.
Importing shipments from DGIS into the Integration Tool
1. Log into DGIS and create a shipment in UPS Laser, UPS Crossborder, or International Air UPS
2. Process the shipment all the way to History (Print the shipment and certification, click “Yes” to confirm that each was printed correctly)
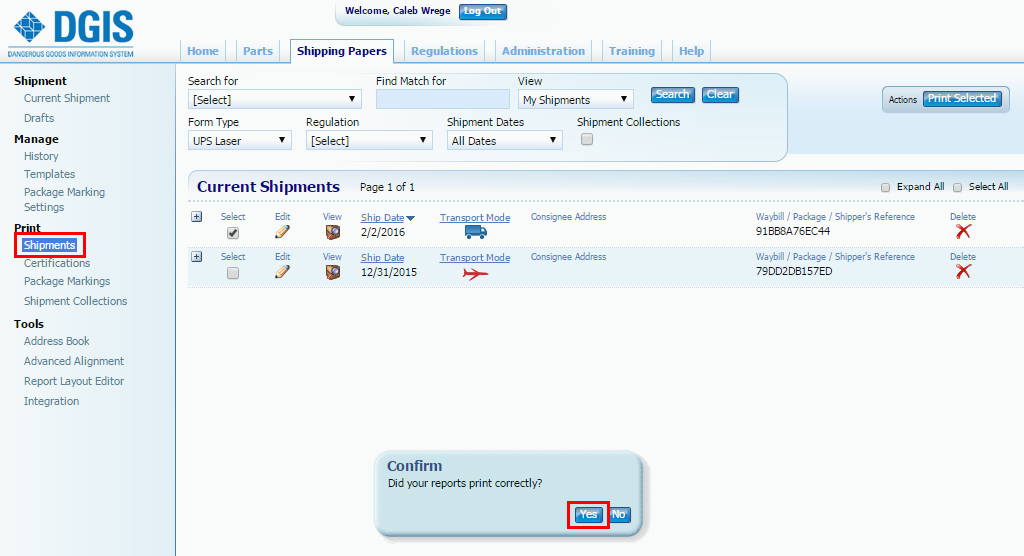
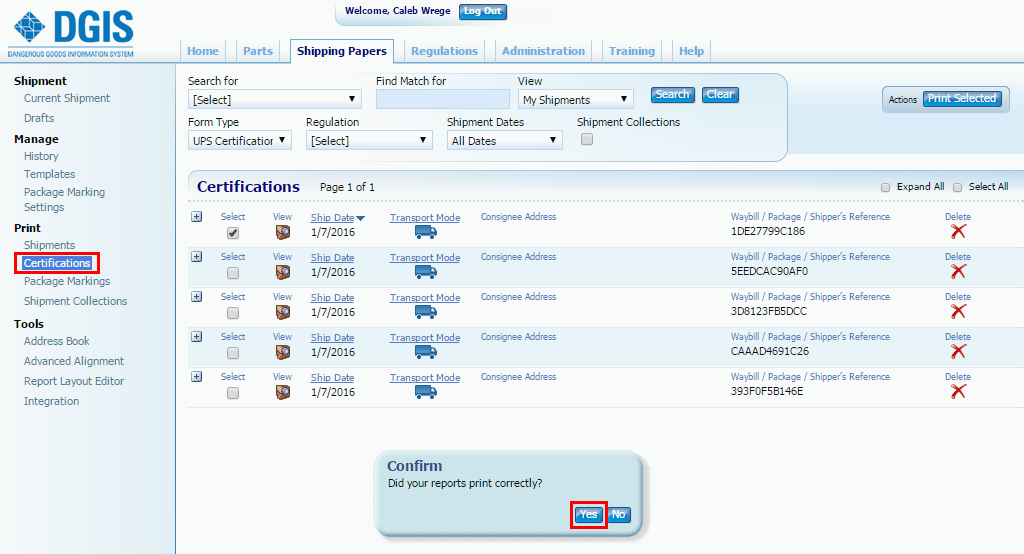
3. Click the Integration link in the left-hand tree-view on the Shipment Screen
4. Select the checkbox for the shipment(s) and click the “Export Selected” button * You do not need to close UPS WorldShip if using the DGIS WorldShip Integration Tool.

5. Choose “Save As” when prompted
6. Save the file to the newly created ‘UPS Export’ folder on the C\: drive
NOTE: It is recommended that users create a NEW export database (by doing a “Save as” and creating a new database) instead of saving to the “exportws.mdb” database. That “exportws.mdb “database is the one that is locked by WorldShip once a shipment is processed in DGIS.
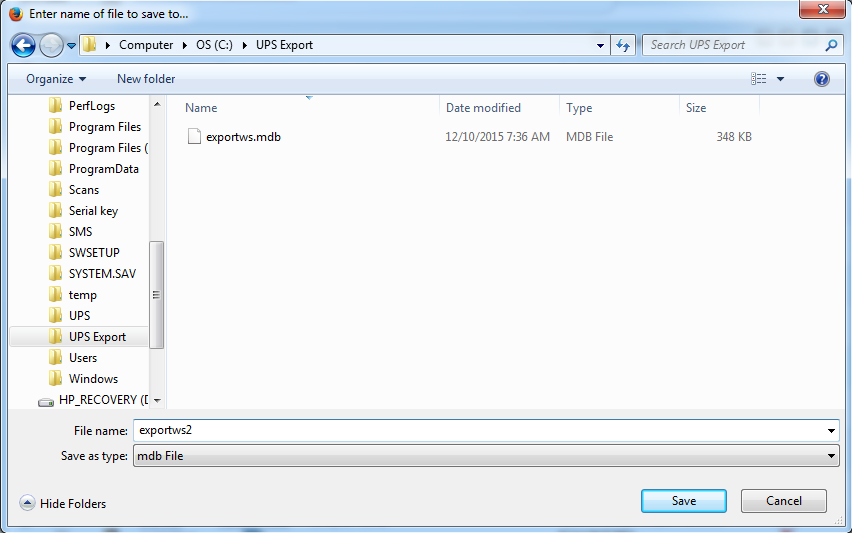
The example above shows several different databases created by typing a new name into the “Save as” dialogue box.
7. Now, go to the Integration tool to begin importing shipment databases to be read by WorldShip.
8. Click on “Load DGIS Database”.
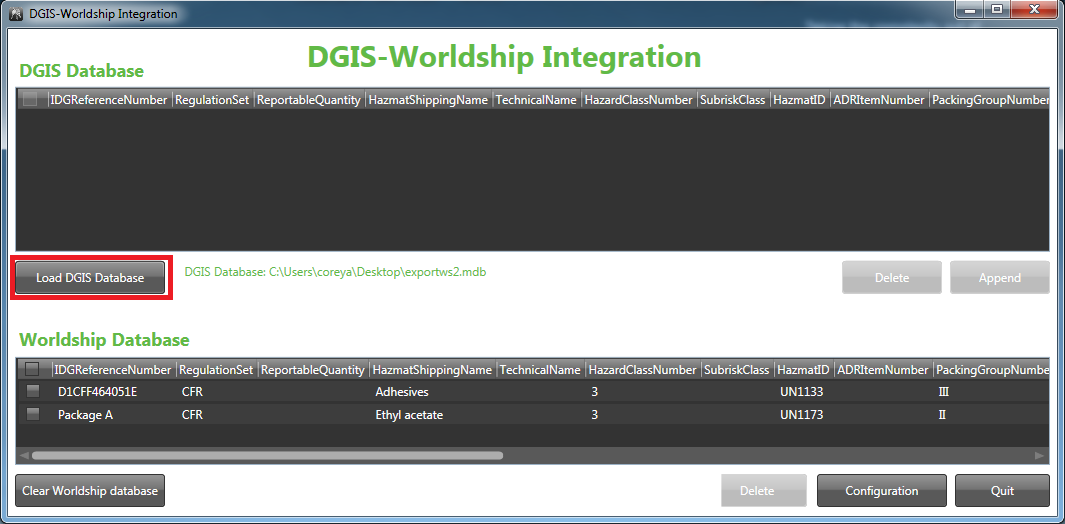
9. Browse and select the database (from the previous Export step). The contents of that database will then appear in the DGIS Database half of the Integration tool screen (the top half). These shipments are ready to add to your WorldShip database.
10. You can append the data from the upper table (DGIS database) to the lower table (WorldShip database). Click to select individual, or all shipments from DGIS, then click the “Append” button to move them to the WorldShip database.
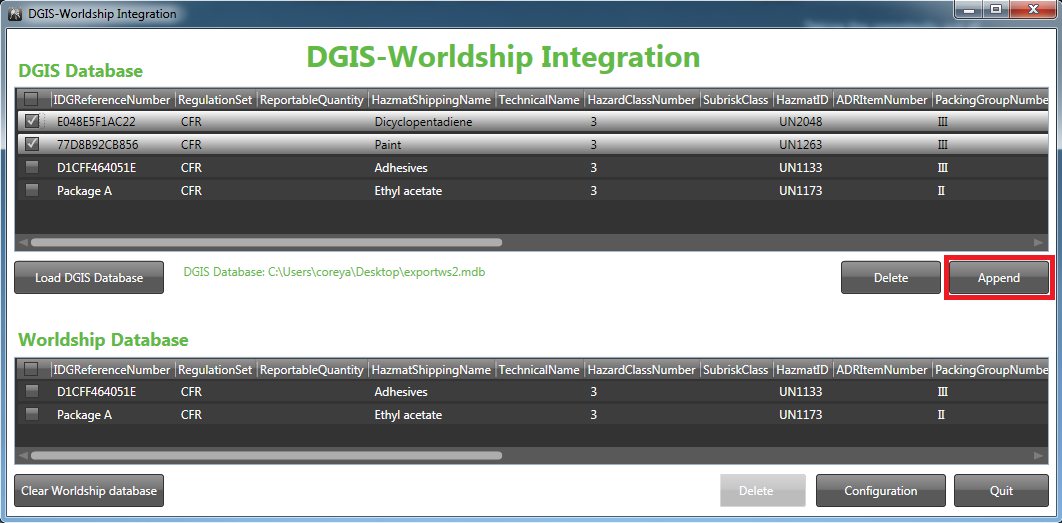
11. From this point, the shipments will now appear in WorldShip for regular processing.
NOTE: If you don’t see your shipments in WorldShip on the Options tab, uncheck then recheck the “Dangerous Goods” checkbox under Package Options to refresh your shipment list.

Installing Microsoft .Net Framework (if necessary)
Depending on your system, you may be prompted to install an updated version of Microsoft .NET
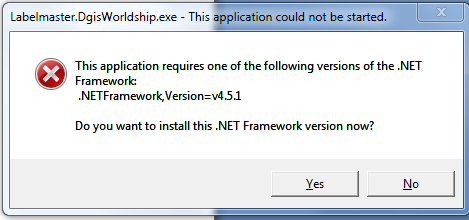
If this is the case, Press ‘Yes’ and your default browser will take you to the download location.

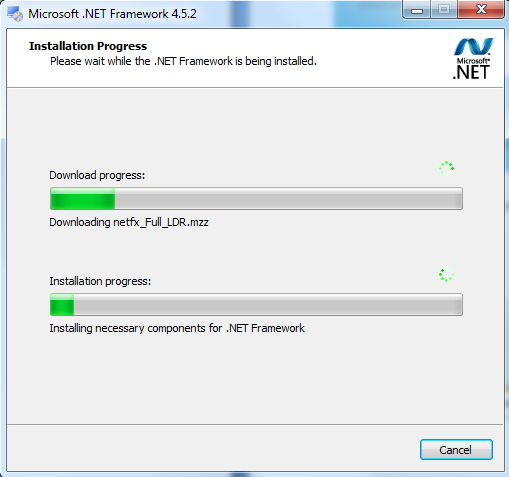
Save and run the .Net Setup program.
The Setup program downloads and installs the necessary files. Once complete, you’ll then be able to run the DGIS WorldShip Integration Tool.
Integration tool download:
0 Comments